Adding grain to photos is something that professional photographers talk about, and they can do it in all sorts of clever ways using specific camera films, lenses, developing solutions, paper and a million other things.
But what is grain? And why would you want to add grain to your photos? And how can you add grain easily?
We've got some answers for you.
Firstly, you should know what grain is. Originally, grain was all about the little silver bits in the processing solution of an old camera. Today, it's basically just a fancy way to talk about the detail and texture of an image. Think of it as the opposite of the skin smoothing effect so many people use.
But why would you want to add grain? Adding grain can give your photos a cool, vintage feel, like photos taken with an old film camera from the 1960s. In badly focused photos, grain can add more detail to the image and make it clearer.
Also, it just looks cool. Why not play around with it and see if you like it?
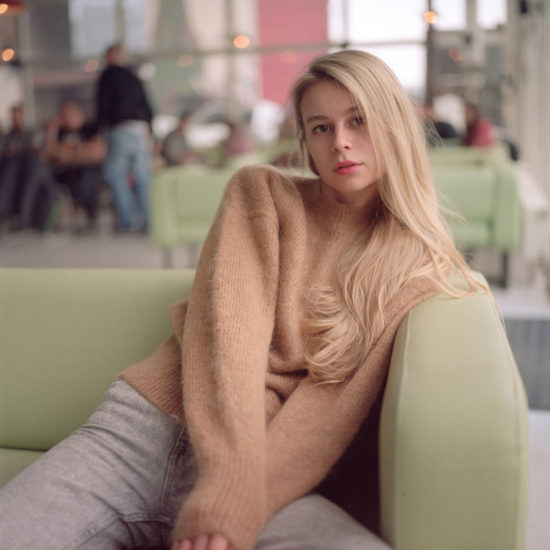
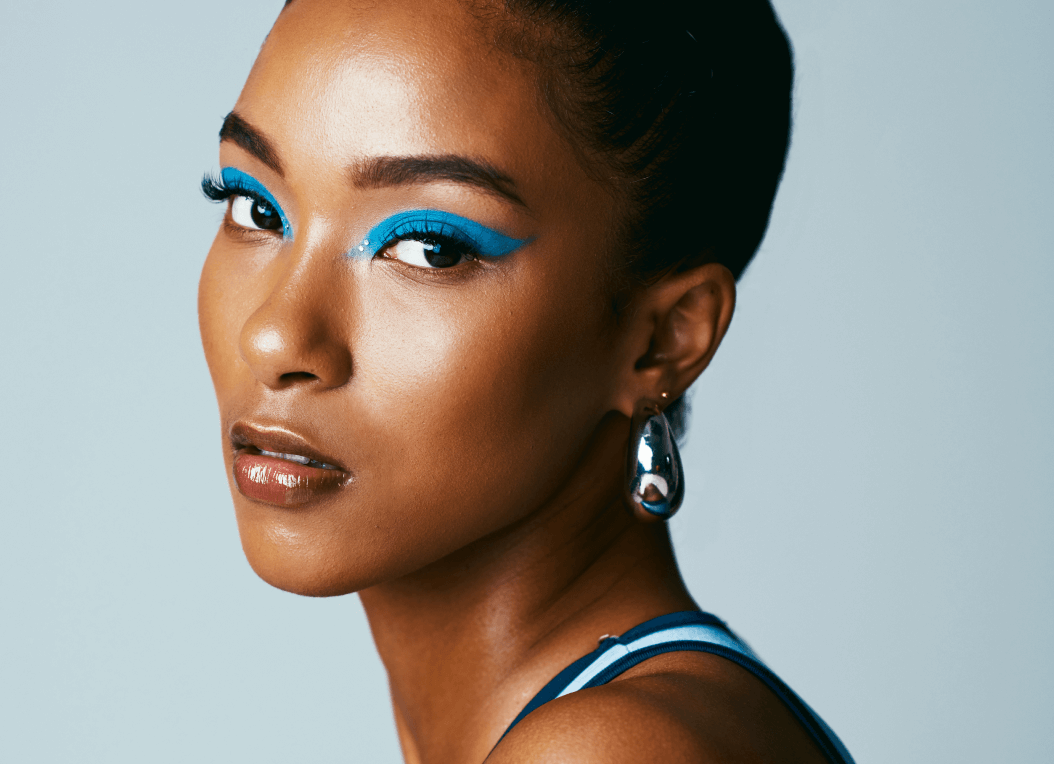
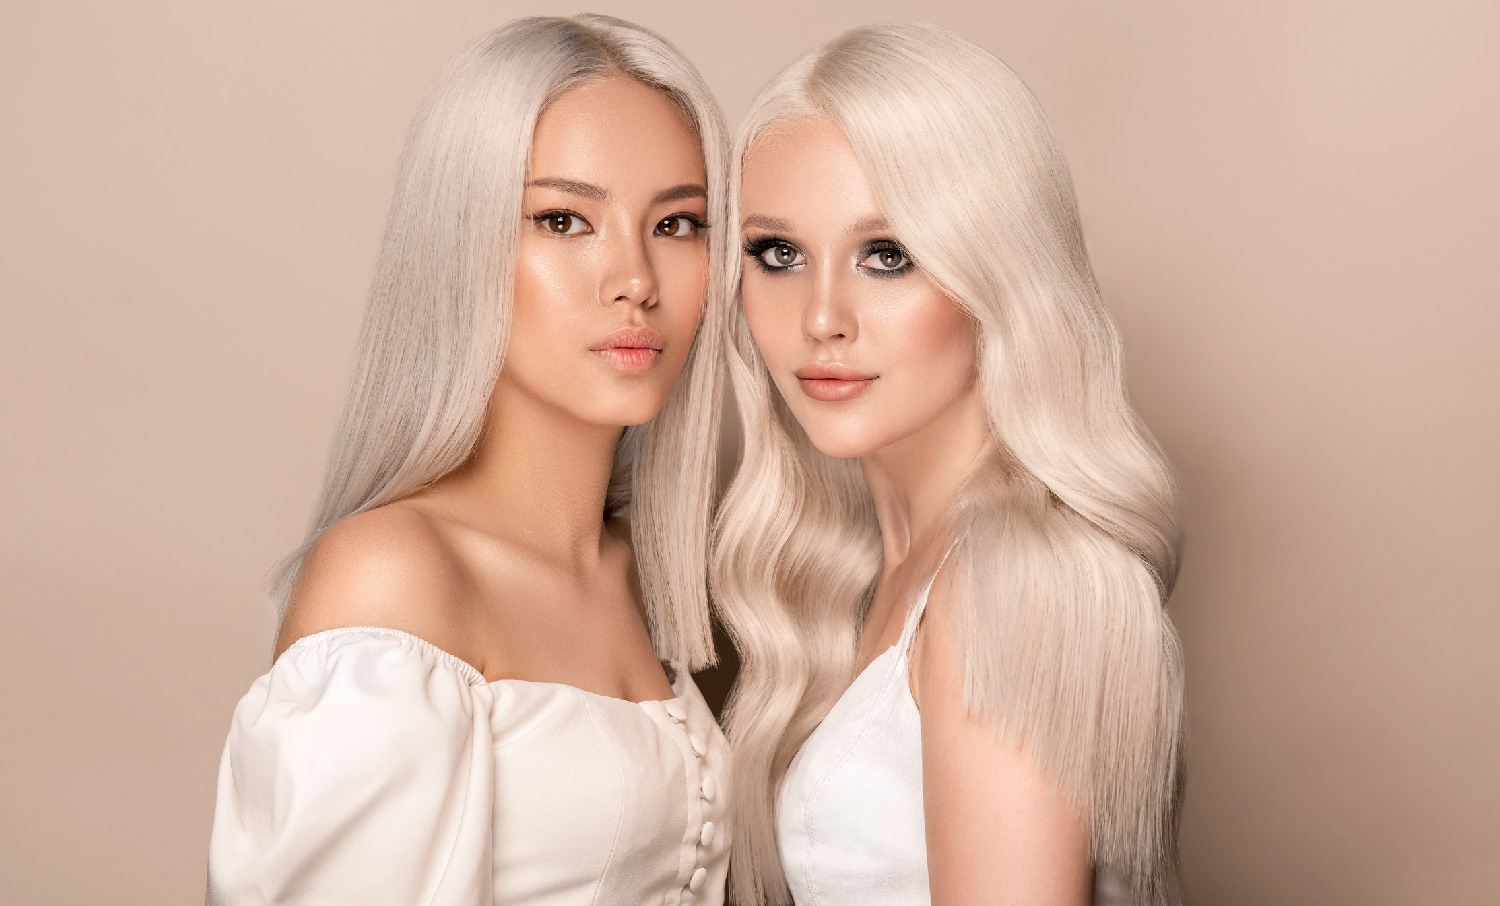
Before adding grain with Facetune:
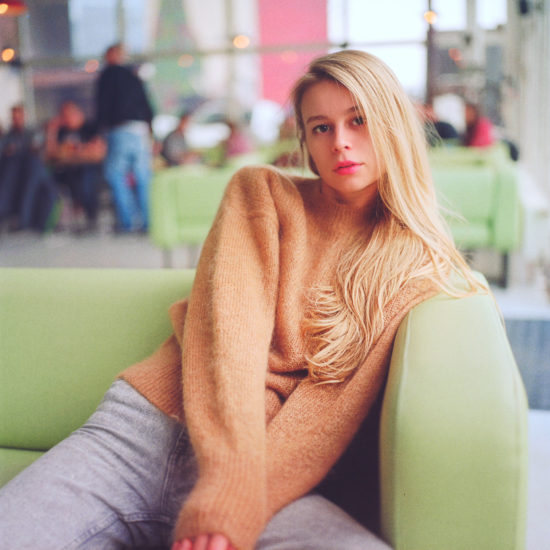
After adding grain with Facetune:
Here's how to add grain to your photos with Facetune:
Step 1: Open the photo you want to edit in the app and head to the Retouch function in the main menu bar.
Step 2: Select the Texture tool. Using your finger, gently swipe over the parts of the image where you want to add extra grain and texture. You can make it more or less intense using the slider bar. You only want to add a little extra detail as we'll be adding grain to the whole picture next. You can also use the Details tool in the same areas to bring additional focus to the area. It's great to use on your eyes and smile to make them really pop.
Step 3: Once you're happy with those changes, save your edits and head back to the main menu. Then choose the Edit function on the main menu bar and scroll along the bottom bar until you can choose the Grain tool.
Step 4: Use the slider bar to increase and decrease the grain of the overall photo. It's super easy and will be consistent across the photo, so make sure you look at everything!
Don't forget to save your work again!
And there you have it: a cute vintage feel or a little extra detail. If you really want to increase the grain, play around with some of the filters in the app. If you're aiming for an older, vintage feel, the Analog selection is a fantastic choice.


